 Online: 4380
Excel > Introduction
Excel opening screen in Excel
How the first screen of MS Excel looks like and what are the options?
How to quickly open MS Excel on windows machine?
There few ways to find and quickly open MS Excel on the windows desktop or laptop.
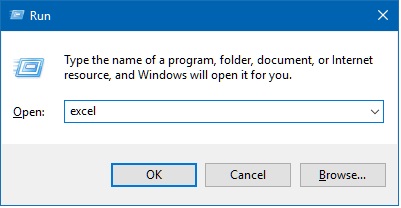
- Go to Run dialog box in the Windows machine by pressing Ctrl+R and type excel and hit OK button. This will instantly open the MS Excel on your machine.

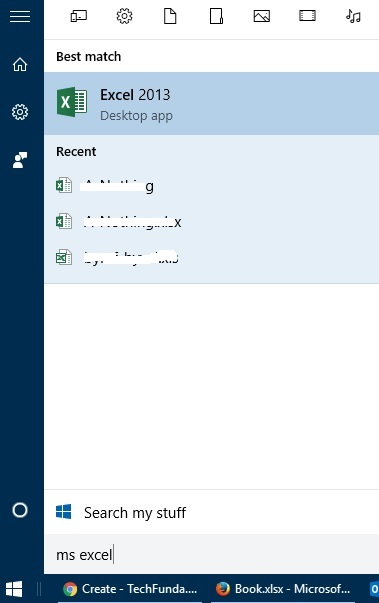
- The other way to quickly open MS Excel on windows machine is to press Windows button on the keyboard and start typing ms excel as shown in the picture below. When Excel icon is visible and selected (background of that icon will become deepeer shown in the picture below) then hit Enter key.

This will immediately open MS Excel on the machine. - The last option is to navigate through the start menu and click on MS Excel icon.
What are the options on opening screen of MS Excel?
When we open MS Excel, the opening screen looks like below. The option below Open heading is to open the file either from Recent Workbooks (that is auto selected and the recently opened files are visible right side), from OneDrive or from Computer.
We can also add other location to open the MS Excel files from.
Clicking on
- OneDrive - shows the recent files from OneDrive
- Computer - shows the recent folders from where the ms excel file was opended.
All of above two has a Browse button that is used to show the Open dialog box from where we can choose our desired files or files from a folder.
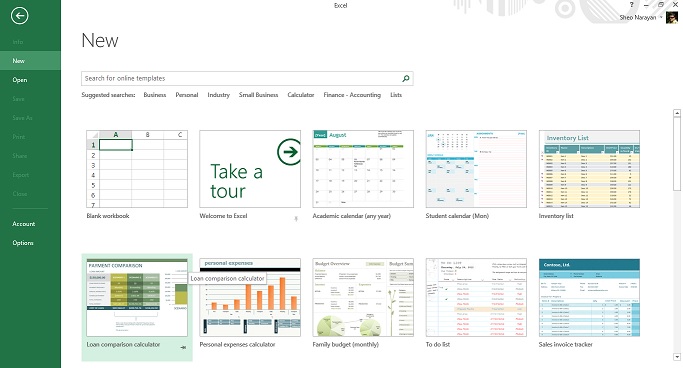
In the left panel of green color (This is basically New menu of the MS Excel ), we have options like New, Open, Save, SaveAs, Print, Share, Export and Close.
- New - is used to open a new work book in MS Excel. This also displays default templates to use to create new MS Excel file. These are online templates and mostly free to use. Based on these teplates we can create a file and fill in our data.
To create blank and fresh MS Excel file, select Blank workbook that is displayed in first column of the first row.
- Open - the default screen that appears when MS Excel is opened and it is already explained in the begining of this topic.
- Save / Save As - Save and Save As both opens the Save As screen that is shown below. This let us save the file we are working on either on the OneDrive, Computer or any other places we have added.
- Print - Print shows the Print page that allows us to choose the printer on which we want to print. We can also save our MS Excel file as .pdf through this option by selecting Microsoft Print to PDF option from the Printer dialogue box.
Apart from this, it also helps us in setting up the page size, margin, orientations etc. while priting. - Share - let us share current file through Email (as an attachment) or invite people to work along side.
- Export - Export let us export the file in other file format like PDF/XPS and other file format like .xls (older verison of MS Excel), .ods (Open source version of MS Excel - Open Office), Template, csv, txt etc.
Be aware that all functionality of the MS Excel file and the look & feel of the original MS Excel file may change based on what file type we are exporting to. - Close - Close, simply closes the current work book.
- Account - let us change our Accunt information we had used to install or active MS Office software.
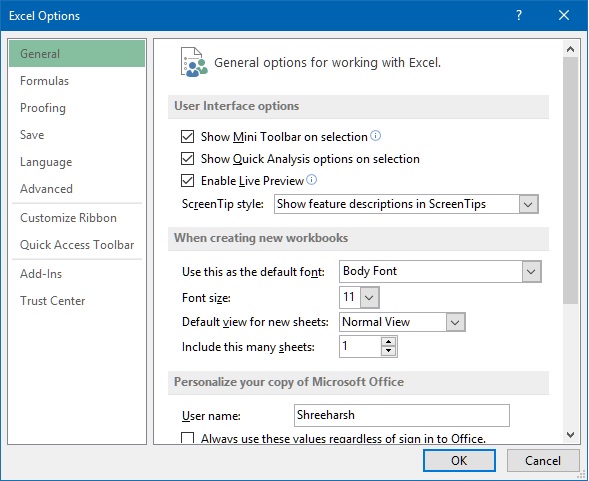
- Options - helps us to customize the MS Excel like change the font, font size, toolbars etc. We shall talk about this in details later in this tutorials.

In the next post, we shall get introduced with main screen of MS Excel.
Views: 20907 | Post Order: 1


